Crochet Mini Cat Free Pattern – Cute Low-Sew Amigurumi
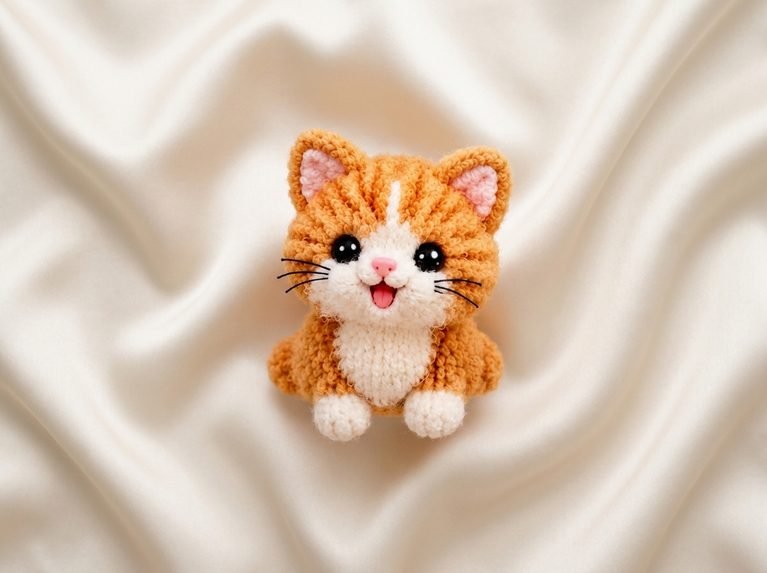
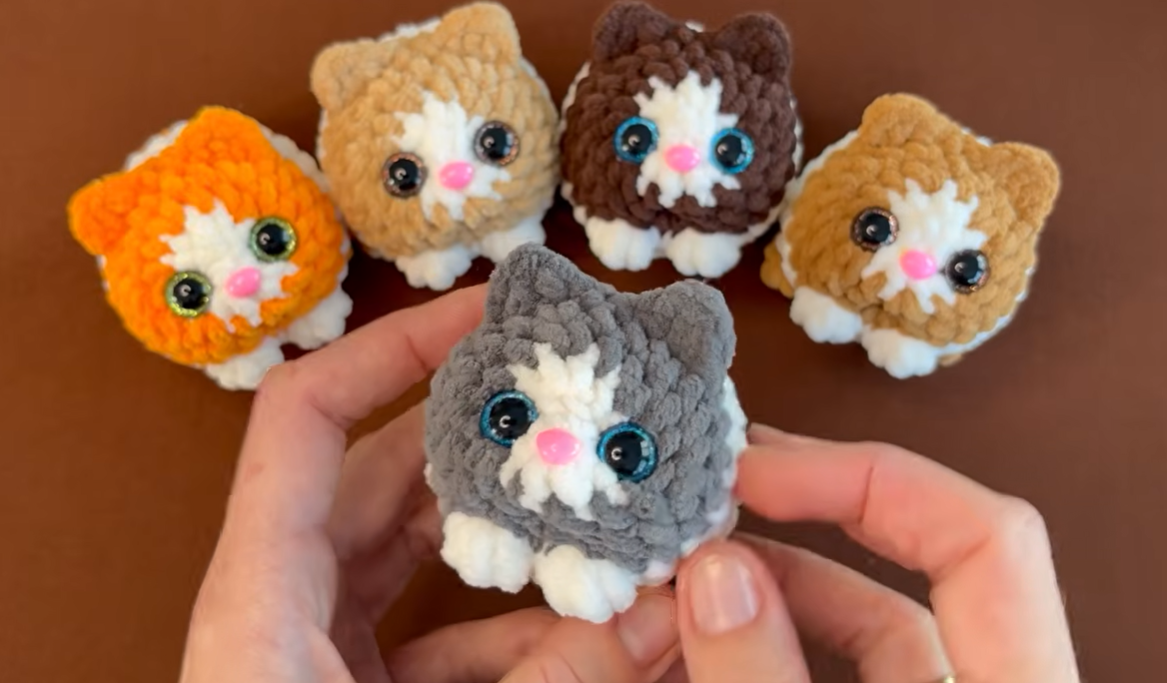
Small crochet animals are ideal when you want a satisfying Crochet Mini Cat Free Pattern without committing to a large toy. This mini crochet cat has a rounded body, tiny built-in ears, four puff-stitch paws, a short tail, and a sweet shaped face. The compact construction also makes it a charming gift, craft-market item, desk companion, or bag charm when a secure loop is added.
Pattern credit: The mini cat design and original tutorial belong to Slava Handmade Studio. Please watch and support the original creator. This written companion should not be resold or presented as a different designer’s pattern.
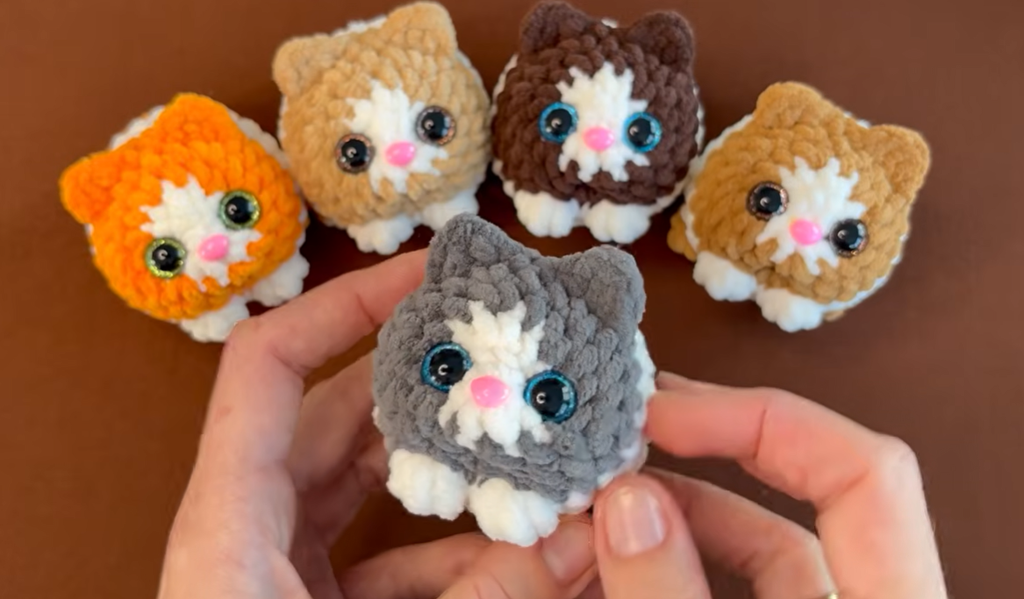
Suggested image: The completed mini cats displayed together.
Alt text: Finished two-color mini crochet cats from the Slava Handmade Studio tutorial
Mini Crochet Cat Project Overview
| Project Detail | Information |
|---|---|
| Project type | Mini cat amigurumi |
| Skill level | Confident beginner to intermediate |
| Terminology | US crochet terms |
| Construction | Worked in continuous spiral rounds |
| Main stitches | Single crochet, increase, decrease, slip stitch, half double crochet, double crochet, and puff stitch |
| Colors | Two yarn colors |
| Hook used in the video | 3.75 mm |
| Finishing | Stuffing, sewn closure, face shaping, and attached nose |
| Original creator | Slava Handmade Studio |
Materials
- Two colors of yarn suitable for a 3.75 mm crochet hook
- 3.75 mm crochet hook
- Two 12 mm safety eyes
- One 6 × 8 mm craft nose
- Polyester toy stuffing
- Locking stitch markers
- Scissors
- Yarn needle
- Strong polyester sewing thread for face shaping
- Craft glue for the nose
Choose one main body color and one contrasting color. In this guide, Color A is the contrast color used at the beginning, on the paws, and toward the back of the cat. Color B is the main body color.
Suggested image: Yarn, hook, eyes, nose, stitch markers, needle, scissors, and stuffing.
Alt text: Materials needed for the crochet mini cat pattern
Crochet Abbreviations
- MR – magic ring
- ch – chain
- sc – single crochet
- inc – increase; work 2 sc in the same stitch
- dec – decrease; single crochet two stitches together
- sl st – slip stitch
- hdc – half double crochet
- dc – double crochet
- FLO – front loop only
- BLO – back loop only
- st/sts – stitch/stitches
- R/Rnd – round
Special Stitch: Four-Double-Crochet Puff
The paws are formed with a compact puff stitch. Yarn over, insert the hook into the indicated stitch, pull up a loop, and partially work a double crochet without completing its final pull-through. Repeat until four partial double crochets have been made in the same stitch. Yarn over and pull through the remaining loops to close the puff.
Keep the puff facing outward before continuing around the body. If this technique is new to you, watch the creator demonstrate it at 12:22.
Important Pattern Notes
- Work in continuous rounds without joining unless stated otherwise.
- Place a marker in the first stitch of every round.
- Keep the saved back loops behind the ears accessible because they are used in the next round.
- Complete color changes on the final pull-through of the stitch before the new color begins.
- Stuff firmly enough to hold the rounded shape, but do not stretch the stitches.
- Check the eye placement from the front before fastening the washers.
- Because yarn thickness and tension vary, the finished size may differ.
Crochet Mini Cat Free Pattern
Round 1
Using Color A, begin with a magic ring and work 6 sc into the ring.
Alternatively, ch 2 and work 6 sc into the second chain from the hook. (6 sts)
Round 2
Work 2 sc in each stitch around. On the final increase, do not complete the last single crochet with Color A. Use Color B for the final pull-through. (12 sts)
Round 3
Repeat (1 sc, inc) 6 times. (18 sts)
Round 4
Repeat (2 sc, inc) 6 times. (24 sts)
Round 5: Crochet the Ears
The ears are worked directly into the front loops of the body stitches.
- Work 3 sc.
- First ear across the next 2 FLO:
- In the first front loop: sl st, hdc, dc.
- In the second front loop: hdc, sl st.
- Work 2 sc between the ears.
- Second ear across the next 2 FLO:
- In the first front loop: sl st, hdc.
- In the second front loop: dc, hdc, sl st.
- Work 15 sc to the end of the round.
The round still uses 24 base stitches. Mark the unused back loops behind both ears if that makes them easier to find in Round 6.
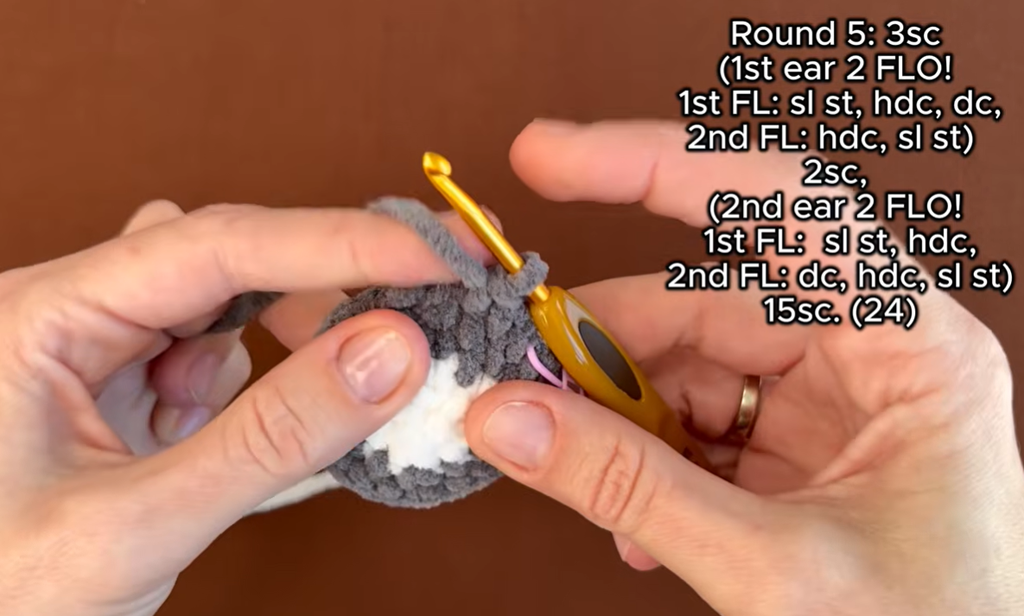
Suggested image: The first ear being formed in the front loops.
Alt text: Crocheting the first built-in ear of the mini cat
Round 6: Front Paws
Work 16 sc in Color B. When you reach the stitches behind the ears, work into the saved back loops so the body remains continuous.
Before completing the 16th sc, change to Color A.
- Work one four-double-crochet puff in the next stitch for the first paw.
- Return to Color B and work 2 sc.
- Change to Color A and make a second puff in the next stitch.
- Return to Color B and work 4 sc to finish the round. (24 base sts)
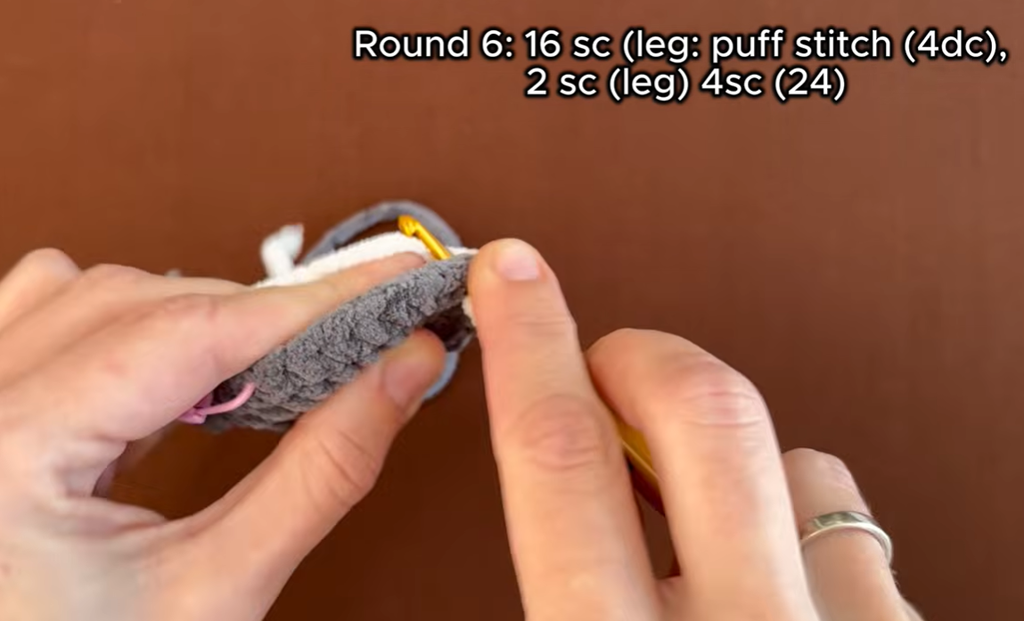
Suggested image: The first puff-stitch paw being crocheted.
Alt text: Making a puff-stitch front paw for the mini crochet cat
Add the Safety Eyes
Pause before continuing. Position the 12 mm eyes between Rounds 2 and 3, using the ears and front paws to find the center of the face. Look at the cat from several angles and confirm that both eyes are level before attaching the washers.
For a toy intended for a child under three, replace plastic safety eyes with securely embroidered eyes.
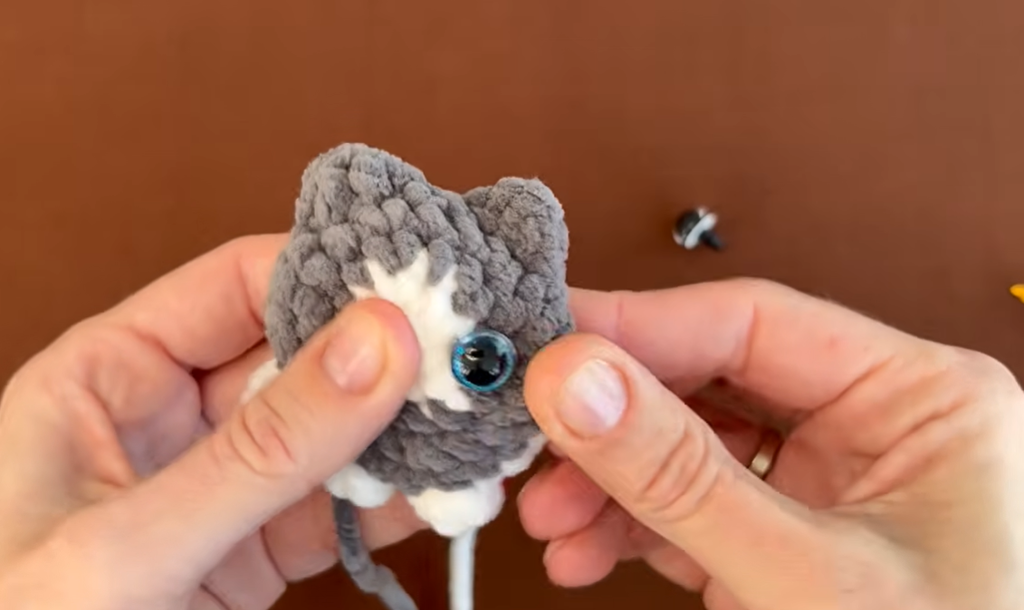
Suggested image: Checking the position of both safety eyes.
Alt text: Placing safety eyes evenly on a mini crochet cat
Round 7
Work 1 sc in every stitch around. (24 sts)
Round 8
Work (5 sc, inc) twice, then work 11 sc and one final inc. (27 sts)
Round 9: Begin the Back Color Section
Work 20 sc in Color B. Begin the next sc with Color B but complete its final pull-through with Color A. Continue in Color A to the end of the round. (27 sts)
This creates a clean transition into the contrasting back section.
Round 10: Back Paws
Continue with Color A:
- Work 17 sc.
- Make one four-double-crochet puff in the next stitch.
- Work 6 sc.
- Make a second puff in the next stitch.
- Work 2 sc to the end of the round. (27 base sts)
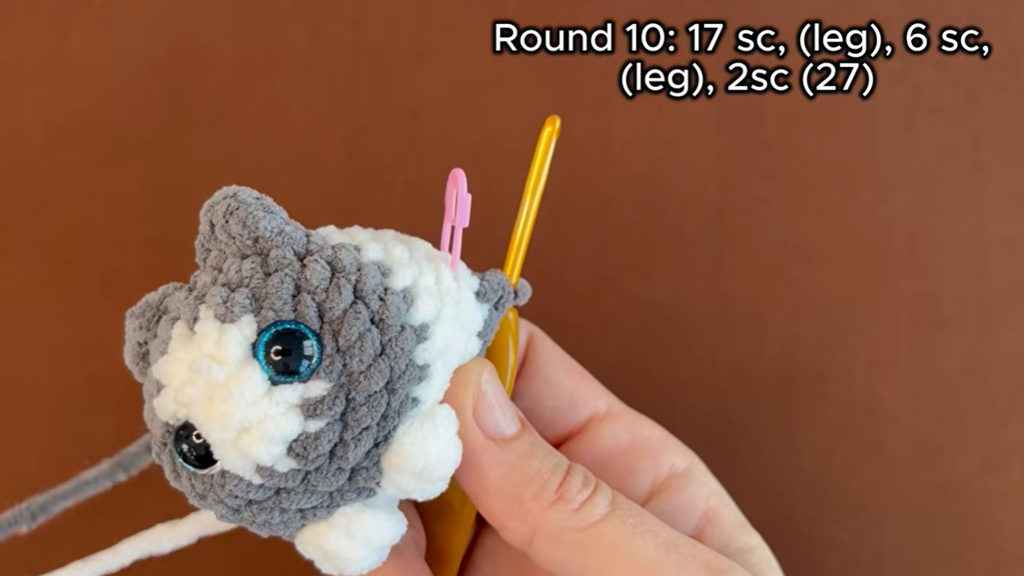
Suggested image: Beginning the back-paw round after the color transition.
Alt text: Contrasting back section and rear paws of the crochet mini cat
Round 11
Work 1 sc in every stitch around with Color A. (27 sts)
Cut Color B if it is still attached, secure the yarn ends, and keep Color A active.
Round 12
Repeat (1 sc, dec) 9 times. (18 sts)
Round 13: Tail and Final Decreases
- Work 3 dec.
- For the tail, ch 5.
- Beginning in the second chain from the hook, work 4 sc back along the chain.
- Return to the body and work 6 dec. (9 body sts remain)
The tail may appear slightly off-center when it is first made. The final decreases bring it into the correct central position.
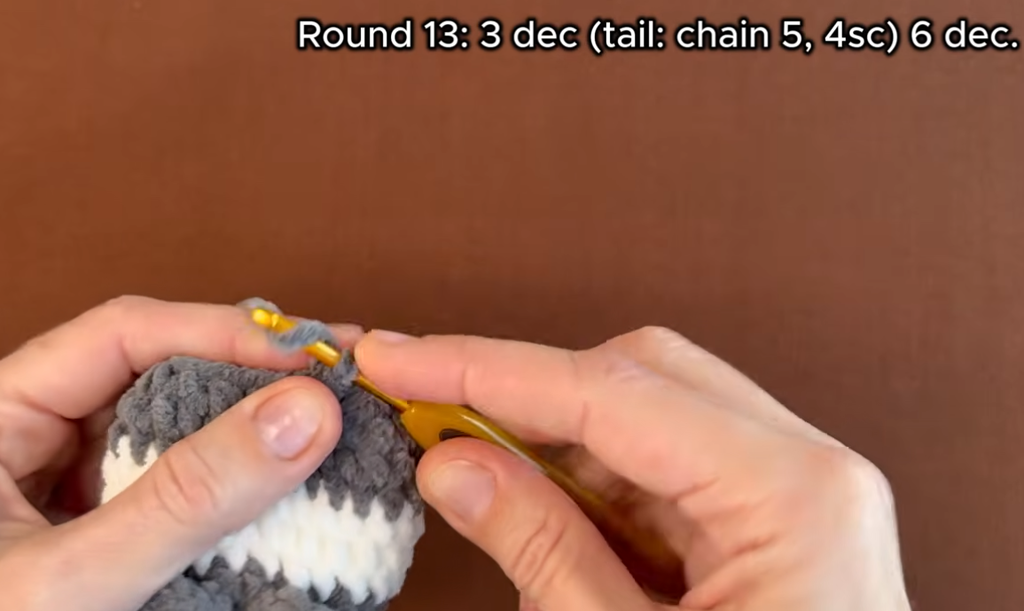
Suggested image: The tail chain being made before the final decreases.
Alt text: Crocheting the short tail of the mini cat amigurumi
Stuff and Close the Cat
Add stuffing in small portions. Push it toward the head, paws, and back of the body before filling the center. The creator uses firm stuffing so the cat holds its rounded shape.
Cut the yarn, leaving a long tail. Thread the tail through a yarn needle, pass the needle through the front loops of the remaining stitches, and pull gently to close the opening. Secure the yarn and hide the end inside the body.
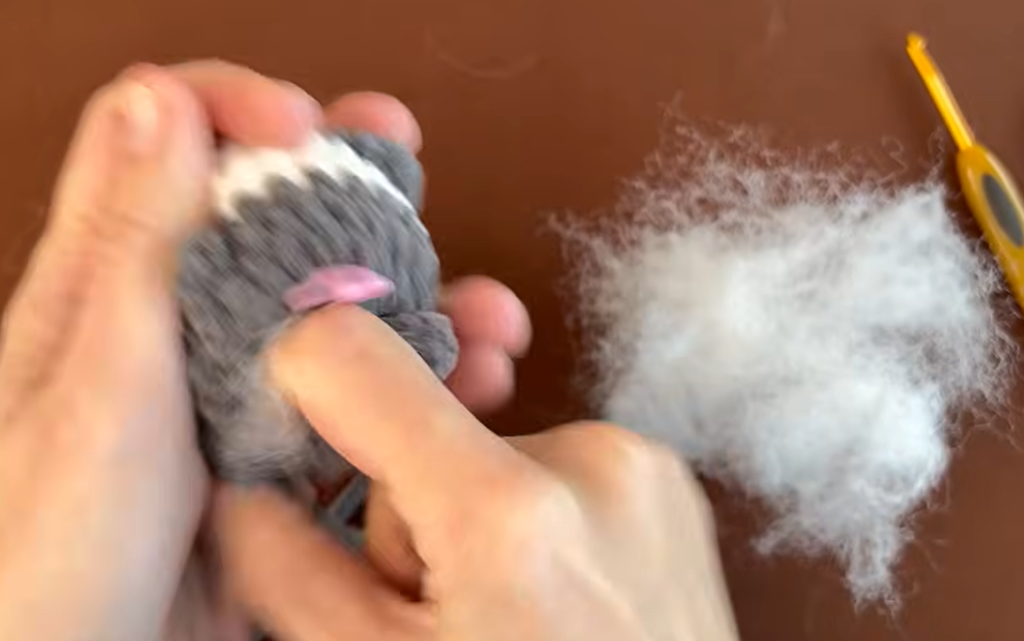
Suggested image: The completed crochet shape immediately before stuffing.
Alt text: Unstuffed mini crochet cat with completed ears paws and tail
Shape the Face
Face sculpting gives the mini cat its final expression. Use several strands of strong polyester thread and a needle. Enter from the underside near the front paws, bring the thread out beside one eye, and guide it between corresponding eye corners to create a gentle indentation. Tighten gradually, check that the eyes remain even, then secure and hide the thread inside the body.
Because the needle path is easier to understand visually than in text, follow the close-up demonstration beginning at 32:45 in the original video.
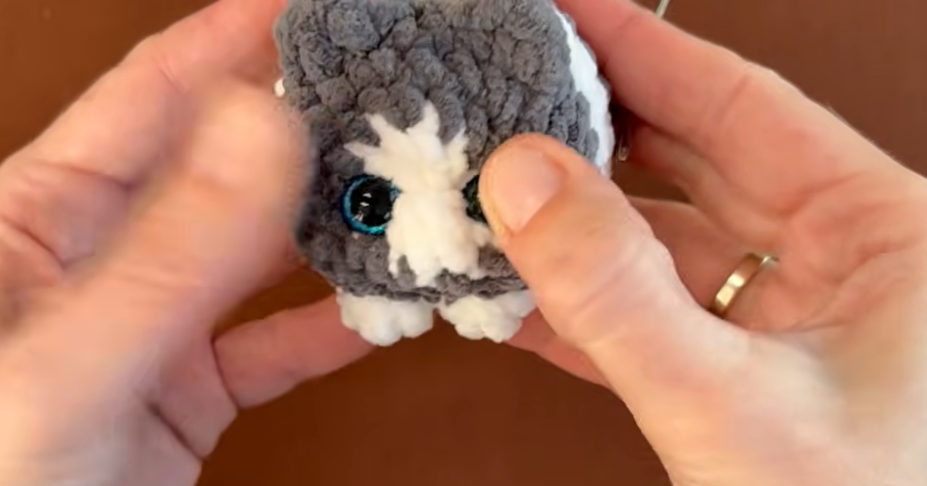
Suggested image: The needle positioned for facial shaping.
Alt text: Face-sculpting technique for a finished mini crochet cat
Attach the Nose
Center the 6 × 8 mm nose below and in line with the eyes. Make a small opening carefully if required, then attach the nose using a suitable craft glue. Allow it to dry completely before handling the cat.
For a child-safe version, embroider the nose securely instead of using a glued plastic piece.
Suggested image: The finished mini cat from the final reveal.
Alt text: Completed two-color mini crochet cat amigurumi
Ways to Personalize the Mini Cat
- Use natural gray, cream, ginger, or black yarn for a realistic cat palette.
- Combine pastel colors for a softer gift or nursery style.
- Embroider tiny whiskers with thin thread.
- Add a securely attached hanging loop to turn it into a bag charm.
- Make several color combinations for a craft-market collection.
- Use embroidered facial features when making the project for a young child.
Watch the Original Video Tutorial
The video is the best reference for the ear construction, puff-stitch paws, color changes, closing method, and face sculpting. Watch the complete original tutorial and support the creator.
Original video tutorial by Slava Handmade Studio

Frequently Asked Questions
Is this crochet mini cat suitable for beginners?
It is suitable for a confident beginner who can work in continuous rounds, count stitches, change colors, and make basic increases and decreases. The ears, puff paws, and face sculpting may require watching the video closely.
Can I crochet the cat in one color?
Yes. A single-color version removes most of the yarn changes and creates a cleaner appearance. You can still use the same round structure and puff-stitch paws.
Can I use a different hook size?
Yes, but match the hook to your yarn. Use a hook that creates a firm fabric so the stuffing does not show between stitches. Changing the yarn or hook will also change the finished size.
Do I have to use plastic safety eyes and a plastic nose?
No. Both features can be embroidered with yarn or thread. Embroidered details are recommended when the finished toy is intended for a child under three.
Why should I mark the loops behind the ears?
The ears are worked in the front loops during Round 5. The unused back loops are needed in Round 6 to continue the body neatly behind the ears. Marking them prevents accidental skips.
Where can I see the difficult steps more clearly?
Use the original YouTube tutorial, especially 06:50 for the ears, 12:22 for the puff-stitch paws, 27:23 for the tail, and 32:45 for face shaping.