Giant Red White Mushroom: A Playful Oversized Project
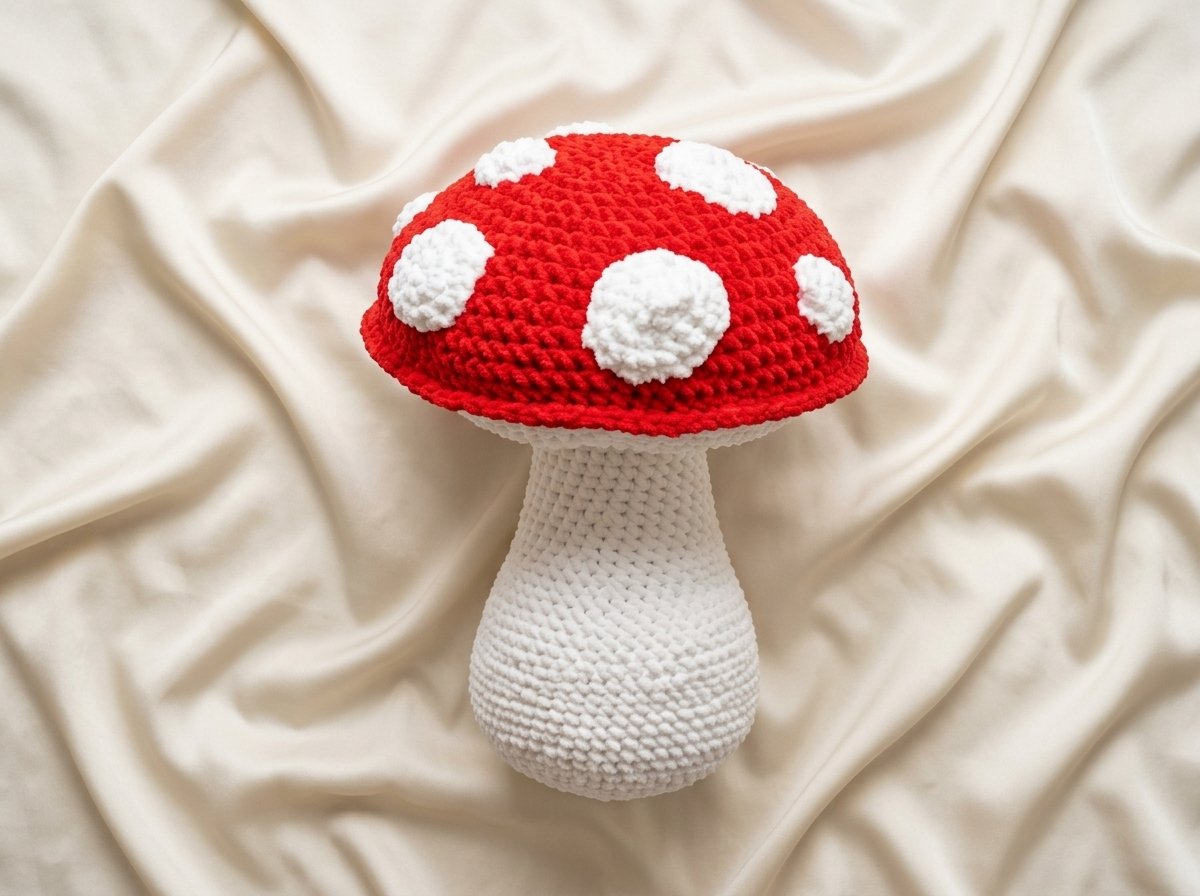
The giant red white mushroom is an imaginative crochet project with instant storybook appeal. The finished design shown in the tutorial features a bold red cap, contrasting white spots, and a pale rounded stem that gives the piece its oversized character. MummaJ Crochet presents this as Part 1 of a step-by-step tutorial, making it a useful visual guide for crocheters who enjoy large, decorative makes.
What makes the giant red white mushroom distinctive?
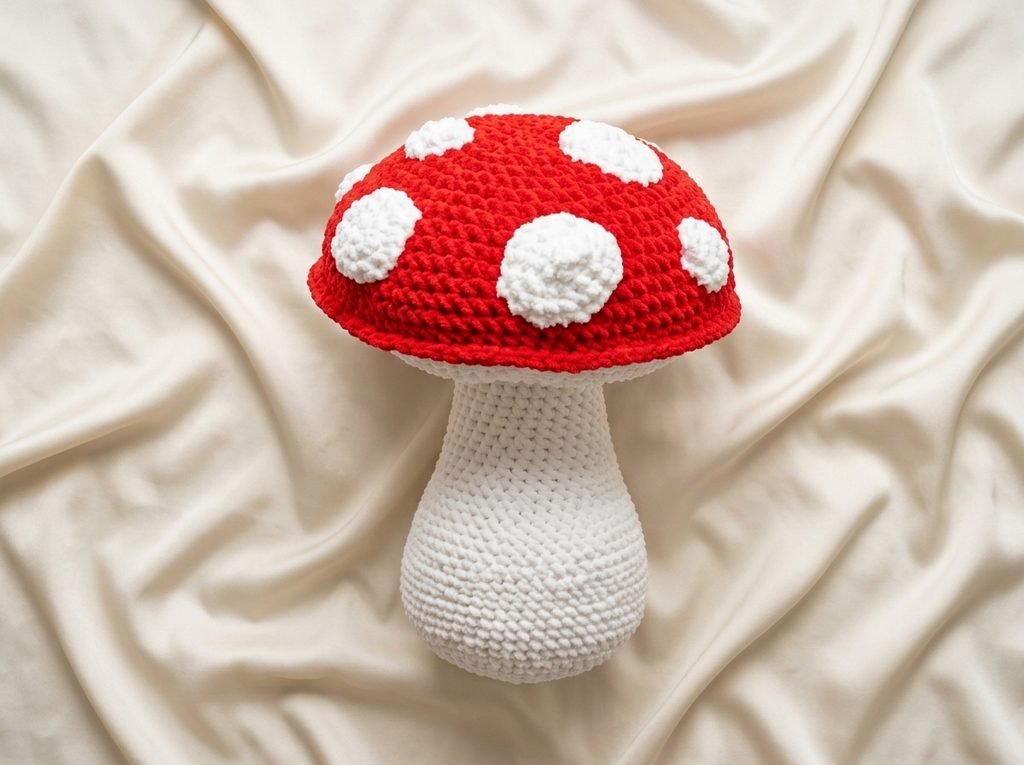
Visually, the project has the familiar silhouette of a classic toadstool: a broad, gently rounded cap sits above a fuller light-colored stem. The bright red surface is decorated with raised-looking white spots, while the plush yarn texture softens the strong color contrast. The scale is the main attraction. Rather than functioning like a small amigurumi ornament, the giant red white mushroom reads as a cheerful statement piece for a craft room, nursery, reading corner, or seasonal display.
The thumbnail also suggests a tactile finish. Chenille blanket yarn is listed among the materials, so readers can expect a soft, velvety-looking surface rather than a crisp, tightly defined thread texture. That quality suits an oversized mushroom particularly well because it emphasizes the rounded forms and makes the finished object feel inviting.
Why the giant red white mushroom is fun to make
This project combines a simple visual language with a satisfying sense of scale. Red, white, and cream or pale beige create a recognizable mushroom immediately, so the color story does much of the design work. The spots add rhythm across the cap, and their varied placement helps the piece feel playful rather than perfectly geometric.
The giant red white mushroom may appeal to crocheters who like novelty décor, fantasy-inspired accessories, or plush projects that make a strong visual impression. It could become a whimsical prop for imaginative play, a decorative accent for a themed room, or a conversation piece displayed alongside plants, woodland ornaments, or other handmade work. Because the item is presented as an oversized crochet design, it can also be an enjoyable challenge for anyone who wants to explore how familiar shapes change when worked at a much larger scale.
Planning your giant red white mushroom
The listed supplies include chenille blanket yarn, stuffing, a yarn needle, scissors, and an 8 mm crochet hook. These are the materials identified in the public tutorial description; readers should still check the lesson itself for any additional preparation details or substitutions. Chenille can sometimes make individual loops harder to see, so good lighting and a comfortable working position are especially helpful.
Before beginning, gather the red, white, and stem-colored yarn together so the finished palette feels intentional. If you substitute colors, preserve the contrast between the cap and the spots. A deep red with warm white creates a classic woodland feeling, while scarlet with bright white looks more graphic. A muted rust cap and cream spots could give the same design a vintage autumn mood.
Think about where the finished giant red white mushroom will live. A display piece may benefit from a slightly more neutral stem, while a toy-inspired version could use especially high-contrast colors. Leave enough clear space around the project to appreciate the wide cap and rounded stem instead of placing it where the silhouette is hidden by furniture or other decorations.
What to watch for in the giant red white mushroom tutorial
The public video runs for more than an hour and is identified as Part 1, so it is worth treating the lesson as a process to follow rather than something to rush through. Pause whenever the demonstration changes from one major section to another. In a large project, keeping track of which color or shaped section is currently being worked can prevent confusion later.
Pay close attention to how the cap develops its curve and how the stem maintains a rounded, stable appearance. The thumbnail shows a substantial difference between the cap’s width and the stem’s width, so proportion is central to the recognizable mushroom shape. Also observe how the white spots are positioned and attached or formed, but rely on the tutorial for the actual method rather than assuming their construction from the image alone.
If you are left-handed, the description indicates that a left-hand video is available. Choose the version that matches your preferred working direction, and avoid switching between demonstrations unless you are comfortable translating movements visually.
Color and proportion ideas for the giant red white mushroom
The cap is the visual focal point, so color changes there will have the greatest effect. You could keep the classic red-and-white combination, soften it with burgundy and ivory, or create a fantasy version in teal with pale spots. For a woodland palette, moss green and cream would move the design away from the traditional toadstool while retaining the spotted concept.
Spot placement is another easy area for customization. The visible design uses rounded white decorations distributed across the cap. Repeating the same spacing can create a neat, graphic appearance, while varying the locations slightly can make the mushroom feel more organic. Keep the spots visually balanced from different viewing angles, especially if the finished item will be displayed in the center of a room.
Proportion matters just as much as color. If you adapt the design, avoid making the stem so narrow that the cap appears visually unsteady, or so wide that the cap loses its distinctive overhang. The tutorial should remain the authority for the original shaping, while these observations can help you evaluate any personal variation.
Finishing, troubleshooting, and care
When working with plush yarn, gently feel the fabric as you go. Uneven stuffing can create visible dents or lumpy areas, particularly in large rounded sections. Editorially, it is often easier to add small amounts of stuffing gradually and redistribute them with your fingers than to pack one area firmly all at once. Keep the surface comfortably full without forcing the stitches apart.
If the stitches become difficult to identify, mark your working location in a way that does not snag the fuzzy yarn. Frequent pauses can also help you check whether the cap is staying symmetrical. If the top looks flatter or more tilted than expected, compare it with the visual demonstration before undoing a large section.
For care, treat the finished giant red white mushroom as a decorative textile object unless the tutorial or yarn label specifically confirms another use. Keep it away from open flames, sharp surfaces, excessive moisture, and rough handling. Chenille surfaces may collect dust, so gentle spot cleaning and careful air-drying are sensible general precautions. Always follow the care information for the yarn you actually use.
Creator
Frequently asked questions
What colors are shown in the giant red white mushroom?
The visible finished project has a vivid red cap, white spots, and a pale cream or off-white stem. The description identifies the project as an oversized red and white mushroom, while the thumbnail provides the clearest visual impression of the stem color.
What materials are listed for this giant red white mushroom?
The public description lists chenille blanket yarn, a yarn needle, scissors, an 8 mm crochet hook, and stuffing. Confirm the tutorial for any additional details before starting or substituting materials.
Is this giant red white mushroom tutorial one complete lesson?
It is labeled Part 1, so readers should expect the project to continue across the relevant tutorial series. Follow the creator’s organization and check the demonstrated sequence rather than assuming every finishing step appears in this video.
Can the spots on the giant red white mushroom be customized?
Yes, the visible spotted cap provides a natural opportunity to adjust placement, size, or color. Keep the overall balance of the cap in mind, and use the tutorial to understand the demonstrated approach before making changes.
Where could I display this oversized mushroom?
It could suit a playroom, nursery, craft space, reading nook, woodland-themed display, or seasonal arrangement. Because the project is large and plush-looking, choose a location where its rounded silhouette can remain visible and protected.
Final thoughts on the giant red white mushroom
The giant red white mushroom turns a familiar woodland shape into a cheerful oversized statement. Its strong palette, rounded proportions, and soft-looking texture give crocheters plenty to study while leaving room for thoughtful color and display choices. Work patiently through the visual lesson, check the shaping as you go, and let the finished mushroom bring a little handmade fantasy to its new home.
Watch the Original Crochet Tutorial
Watch the complete visual demonstration from the original creator below.
Tutorial created by: MummaJ Crochet