
Red Crochet Ladybug Keychain: A Tiny Handmade Charm
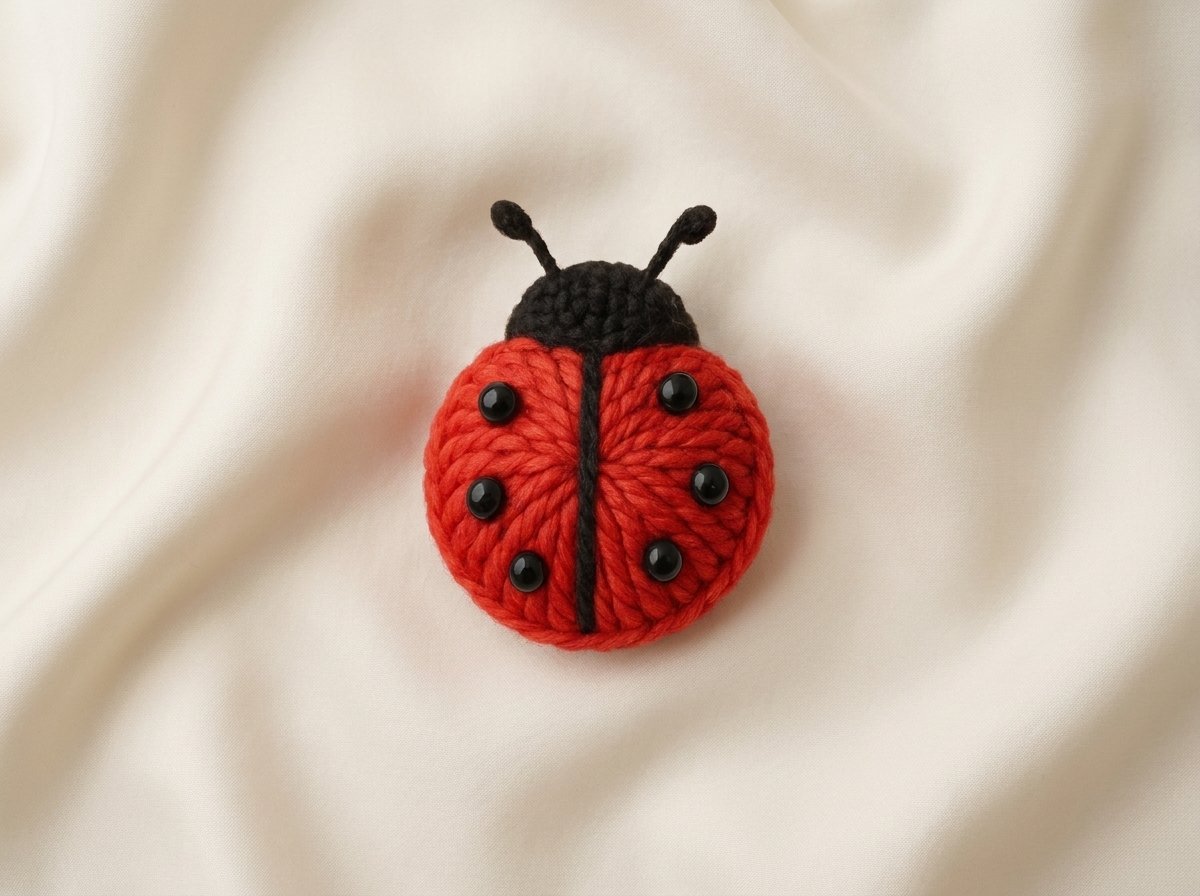
A red crochet ladybug is the kind of small project that can turn leftover yarn into a cheerful accessory. The featured tutorial presents a rounded ladybug with a bright red body, a dark central line, black spots, short antennae, and shiny-looking eyes. Its compact scale makes it appealing for a keychain, bag charm, car accessory, room decoration, or small handmade gift.
What the red crochet ladybug looks like
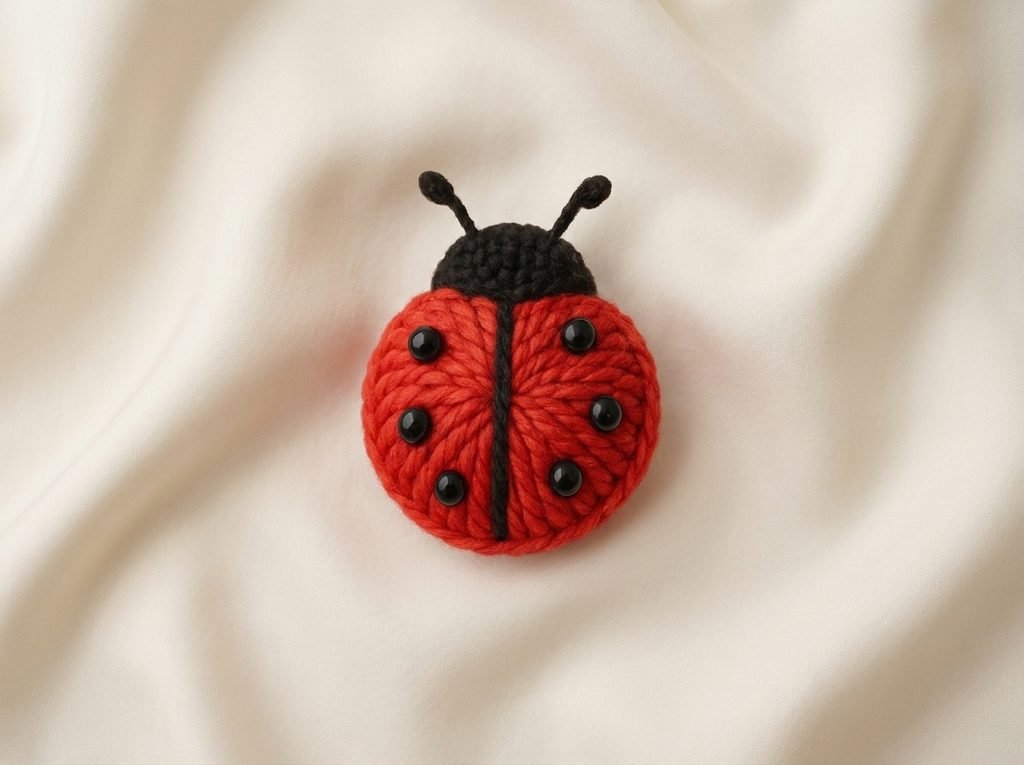
The visible finished project has a plump, rounded silhouette divided by a dark line running down the center. Several dark spots decorate the red wings, while a black head and curved antennae complete the recognizable insect shape. The thumbnail also shows related examples in pink, yellow, and green, suggesting that the same cheerful idea can be adapted beyond the featured red version.
Texture is part of the charm. The yarn surface gives the body a soft, tactile appearance rather than a flat, polished finish. Small raised details, contrasting colors, and prominent eyes help the design read clearly even though the finished item is tiny. The result feels playful without needing a complicated decorative layout.
Why this red crochet ladybug stands out
The strongest feature is the balance between a simple rounded form and expressive details. A central stripe immediately suggests a ladybug, while the spots and antennae add personality. Because the design uses a small number of highly visible features, each detail has an important visual role.
This is also a practical scrap-yarn idea. The main body uses a vivid color, while the head, stripe, spots, and antennae rely on a dark contrast. That makes the project a useful way to use small leftovers that may not be large enough for a garment or larger accessory. A few carefully chosen details can make modest yarn quantities feel intentional.
Who may enjoy making it?
The tutorial description presents the project as beginner-friendly and step by step, making it attractive to crocheters who want a manageable introduction to small character-style work. It may also suit experienced makers looking for a quick creative break, a classroom craft idea, or a batch of tiny gifts.
A finished ladybug could decorate a backpack, pencil case, purse, key ring, or car interior. It could also become part of a spring or summer display, a cheerful desk accent, or a handmade birthday and Valentine’s Day gift. For back-to-school crafting, several color versions could make a fun collection of matching charms.
Planning your red crochet ladybug
Before beginning, gather a bright main color and a dark contrasting color for the visible markings. You will also want to plan how the charm will be attached if the finished piece is intended for keys or a bag. The supplied description confirms the project’s charm and accessory uses, but it does not specify the attachment hardware, so verify that part in the tutorial before shopping.
Scrap yarn is especially useful here because the spots and antennae are small accents. Sort your leftovers before starting and compare the colors in daylight. A deep black or charcoal may create a crisp outline, while a softer dark shade can give the ladybug a gentler look. If you prefer a less traditional palette, keep the head and markings dark so the insect shape remains easy to recognize.
Think about scale as well. A charm needs to be compact enough for comfortable everyday use, but the spots and eyes should remain visually clear. If you customize the project, changing the body color will have a larger effect than adding many extra decorations. Keeping the silhouette uncluttered will help the finished piece retain its friendly character.
What to watch for in the red crochet ladybug tutorial
Pay close attention when the rounded body begins to take shape. Small projects can change proportions quickly, so compare your work with the tutorial’s visible form rather than rushing through the early shaping. The body should look balanced from the front, with the central division positioned clearly.
The attachment of the spots is another useful moment to observe. Their spacing influences the personality of the finished ladybug, and uneven placement may be more noticeable on a small surface. Watch how the creator positions the dark details and how the antennae are secured. Since the description does not provide a written sequence or technical specifications, use the video to confirm every construction and finishing detail.
Also note how the eyes are placed. They help establish the direction and expression of the character, so checking alignment before securing them is worthwhile. If you are making the item for a young child, consider replacing or embroidering small parts according to appropriate safety practices.
Color and customization ideas
The featured red crochet ladybug has the classic contrast that makes the insect instantly recognizable. You could keep the same dark head and markings while trying pink, yellow, orange, or green for the body. The thumbnail’s alternate examples show how well this concept translates into a small color series.
For a coordinated gift, match the body color to the recipient’s backpack or favorite accessory. A set of different colors could work as party favors, while one carefully chosen version may be enough for a thoughtful handmade add-on. You can also experiment with the number and arrangement of visible spots, provided the body remains easy to read.
Finishing deserves attention because small accessories are handled frequently. Check that loose ends are secured neatly and that attached decorations do not interfere with the intended use. If the project will hang from a bag, inspect the connection before gifting it. A gentle tug test is useful editorial practice, though it should not replace the creator’s demonstrated finishing method.
Care and troubleshooting advice
If the body looks lopsided, pause before adding the details. Compare both sides visually and check whether the central line is positioned where you want it. A slightly uneven spot can often be adjusted before final securing, but repeated undoing may disturb the fabric, so work patiently.
If the red crochet ladybug feels too floppy for a charm, review the tutorial’s finishing guidance and consider whether the selected yarn and tension produce enough structure. Do not assume that changing tools or materials will create the same result; test a small section first if you make substitutions.
Keep the finished accessory away from rough surfaces that could catch the antennae or eyes. For cleaning, follow the care needs of the yarn and attached components rather than soaking automatically. Store it where small decorative parts will not snag on other items, especially when carrying it in a crowded bag.
Creator
Frequently asked questions
What can I use a red crochet ladybug for?
The tutorial description suggests using it as a keychain, bag charm, car accessory, room decoration, or handmade gift. Choose the attachment and placement based on how the finished piece will be handled.
Is this red crochet ladybug suitable for using up scraps?
Yes. The description specifically highlights yarn scraps, and the small contrasting details make this a natural project for leftover yarn. Confirm the creator’s material guidance in the tutorial before substituting fibers or tools.
Can I make the ladybug in another color?
Yes. The visible examples include pink, yellow, and green variations. Keeping the head, stripe, spots, and antennae in a dark contrasting shade should help preserve the recognizable ladybug appearance.
What should I check before using it as a bag charm?
Inspect the attachment point, loose ends, eyes, spots, and antennae. The video should be your reference for the exact finishing and attachment method because those technical details are not listed in the description.
A cheerful small project to revisit
The red crochet ladybug combines a familiar insect shape with approachable customization. Whether you make one from scraps or create a colorful group, its rounded body and bold markings offer plenty of personality in a small package. Use the tutorial for the construction details, then let your color choices and finishing care make the charm your own.
Watch the Original Crochet Tutorial
Watch the complete visual demonstration from the original creator below.

Tutorial created by: puffy hook
One Comment