Hand Sew Crochet Bag Lining for a Clean, Sturdy Finish
Learning to hand sew crochet bag lining can transform a handmade accessory from soft and casual to polished and dependable. This beginner-friendly tutorial focuses on adding fabric inside a crochet bag with a simple hand-sewing method, helping create a cleaner interior and a sturdier finished shape without relying on complicated equipment.
What the hand sew crochet bag lining tutorial shows
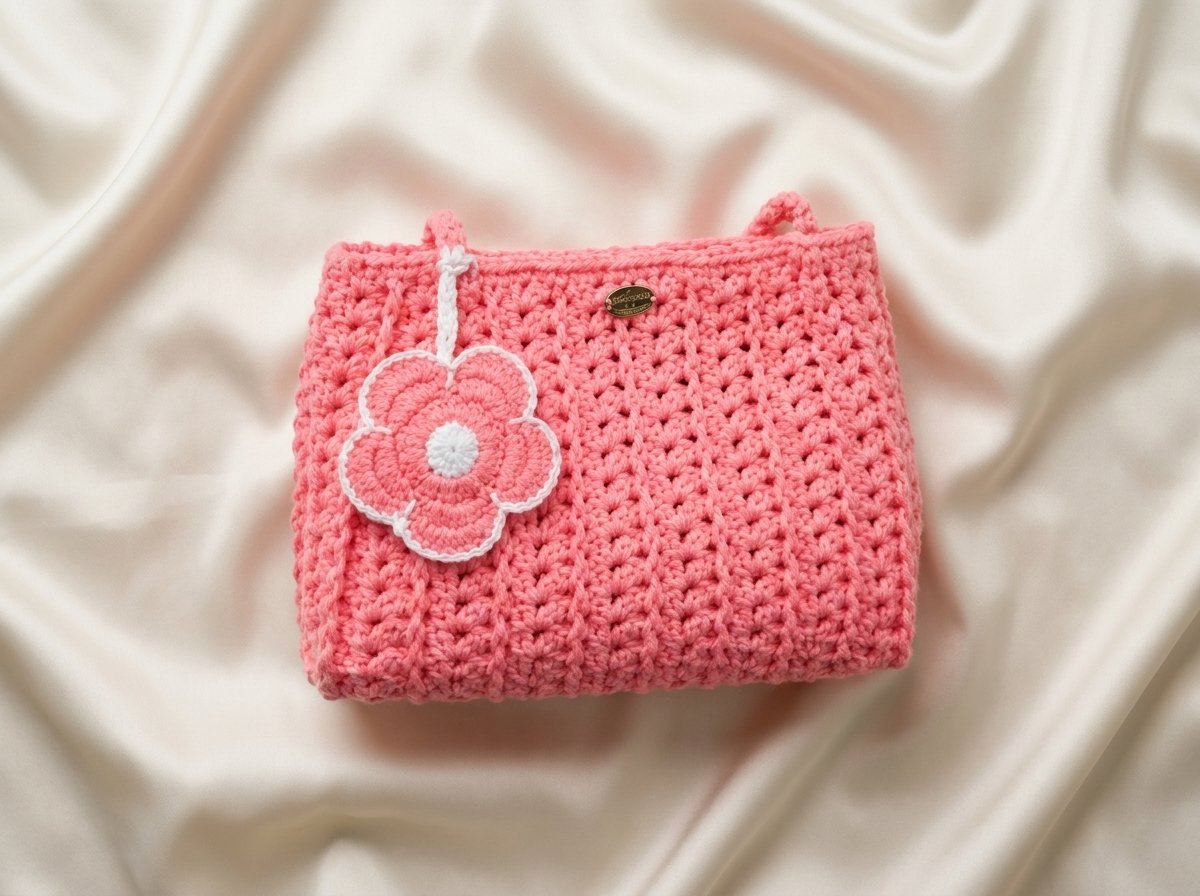
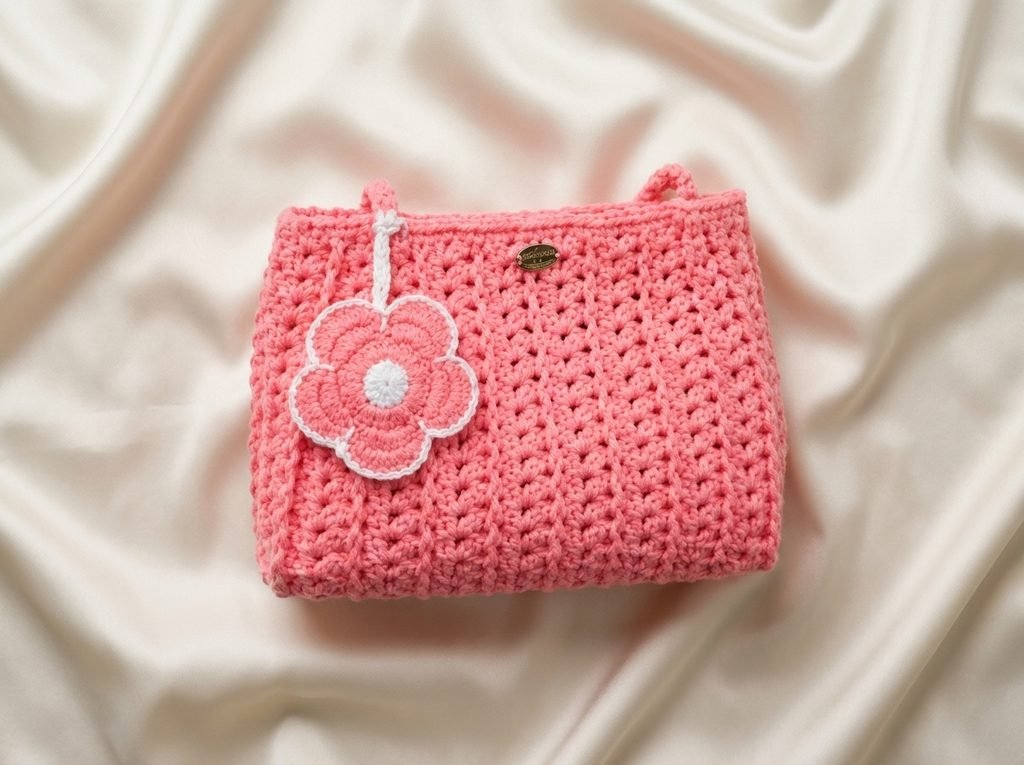
The featured project is a bright pink crochet bag with a compact rectangular silhouette, a gently rounded lower shape, and a matching strap detail visible near the top. A pink fabric lining is shown inside the bag, while the thumbnail also displays a flower decoration on the front. These visible details make the lesson especially relevant to small crochet handbags and similarly shaped accessories.
The tutorial description emphasizes a neat, clean, and professional-looking finish. Rather than presenting lining as an advanced tailoring project, it frames the process as an approachable way to improve the inside of a crochet bag. The hand-sewing focus is useful for crocheters who do not own a sewing machine or who prefer to make small adjustments slowly.
Why a hand sew crochet bag lining makes a difference
Crochet fabric can stretch, flex, and reveal small openings between stitches. A lining gives the interior another layer, which may help keep small belongings from catching on the crochet fabric. It can also support the bag’s shape and make the opening feel more finished.
The lining is not only practical. A coordinated fabric can add color and personality, even when it is mostly hidden. With a pink crochet exterior and pink lining shown in the tutorial, the result feels intentionally matched rather than assembled as an afterthought.
Because the featured bag includes a visible flower embellishment, lining can also help the accessory feel more complete as a gift or personal item. The decorative exterior remains the focal point, while the fabric interior quietly improves everyday usability.
Who may enjoy this project
This lesson may suit crocheters who have finished a bag but are unsure how to add an interior neatly. It may also help anyone repairing an older crochet purse, refreshing a handmade gift, or strengthening a bag that needs a more structured inside.
Beginners may appreciate the slower control of hand sewing. You can pause between stitches, check the placement, and correct a section before continuing. That flexibility is useful when the crochet opening is not perfectly uniform or when the bag has a slightly curved shape.
The method can also appeal to experienced crocheters who want a straightforward finish for small projects. Even a simple crochet bag benefits from thoughtful fabric selection and careful preparation.
Planning before you hand sew crochet bag lining
Start by considering the finished bag’s shape rather than choosing fabric based only on color. A lining that is too loose may bunch inside, while one that is too tight can pull the crochet fabric inward. Editorially, it is wise to plan for a little ease while keeping the lining close to the bag’s interior proportions.
- Choose fabric that feels compatible with the bag’s size and intended use.
- Check that the lining color complements the crochet exterior and any visible decoration.
- Think about how the bag opens before deciding where the lining should sit.
- Prepare basic hand-sewing supplies and keep them organized before beginning.
- Test your fabric and thread combination on a small scrap first.
For a small pink bag like the featured example, a similarly colored lining creates a seamless look. A contrasting lining could work as well, particularly if you want the interior to become a surprise detail. If the exterior has a flower charm or other embellishment, avoid a busy lining that competes with it.
What to watch for in the hand sew crochet bag lining tutorial
Pay close attention to how the fabric is positioned inside the bag and how the maker manages the upper edge. The most useful visual information is often found in the small adjustments: keeping the lining even, preventing bulky folds, and maintaining a smooth transition around the opening.
Notice how the hand stitches are placed in relation to the crochet fabric. You do not need to rush. A slower pace makes it easier to keep the edge aligned and to avoid pulling the thread so tightly that the crochet fabric puckers.
The 19-minute tutorial provides enough time to observe the process rather than relying on a quick overview. Since captions are not indicated in the supplied metadata, viewers may find it helpful to pause at close-up moments and compare the demonstrated placement with their own bag.
Customization and finishing ideas
A hand sew crochet bag lining can be customized without changing the visible personality of the crochet work. Try a solid lining for a clean appearance, a small-scale print for subtle interest, or a darker shade when the bag will receive frequent use. The best choice depends on whether you want the interior to blend in or stand out.
Proportion matters too. A narrow bag may need a simple lining that follows its shape closely, while a wider style may benefit from a little more interior room. If the bag has a decorative flower, consider keeping the lining uncomplicated so the motif remains visually dominant.
You can also use the lining decision to improve organization. A small pocket may be useful in a larger bag, but adding extra layers can create bulk in a compact design. Before adding details, consider how they will affect the bag’s flexibility and opening.
Troubleshooting and care
If the lining appears wrinkled, check whether the fabric is sitting evenly before tightening any stitches. Small ripples may settle with repositioning, while persistent bunching can indicate that the lining needs a gentler shape or a little more room.
If the crochet edge pulls inward, loosen the tension and inspect the spacing of the stitches. Hand sewing should secure the lining without distorting the handmade fabric. For a neat result, it is usually better to make steady, moderate stitches than to pull a long section tight at once.
Care for the finished bag according to both the crochet material and the lining fabric. Avoid assuming that the entire bag can be machine washed. Spot cleaning and gentle handling may be safer unless the materials and construction have been specifically confirmed as washable.
Creator
Frequently asked questions
What kind of project is the hand sew crochet bag lining tutorial for?
It is intended for lining crochet bags with a simple hand-sewing method. The visible example is a small pink crochet handbag, but the planning principles may also help with similarly shaped bags.
Can beginners try hand sew crochet bag lining?
Yes. The supplied description specifically presents the tutorial as beginner-friendly. Work slowly, check the lining position often, and verify any construction detail directly in the tutorial.
Should the lining match the crochet bag?
Matching is optional. The featured example uses a pink lining with a pink crochet exterior, but a carefully chosen contrast can create a different look. Consider the bag’s decoration and intended use before selecting fabric.
How can I prevent the lining from looking bulky?
Keep the lining close to the interior shape, avoid unnecessary extra layers, and watch how the fabric gathers near the opening. If the bag is small, a simple lining may look cleaner than one with added pockets or heavy fabric.
A polished final step for handmade bags
Hand sew crochet bag lining is a practical finishing skill that can make a handmade accessory feel more finished without changing its crocheted character. Use the tutorial to study placement and hand-sewing control, then adapt the fabric, color, and proportions to suit your own bag. With patient preparation, the lining can support the shape, protect the interior, and give your crochet project a confident final touch.
Watch the Original Crochet Tutorial
Watch the complete visual demonstration from the original creator below.

Tutorial created by: Knitbi.c