How to Crochet a Kitty Bracelet: The Ultimate Step-by-Step Guide for Beginners
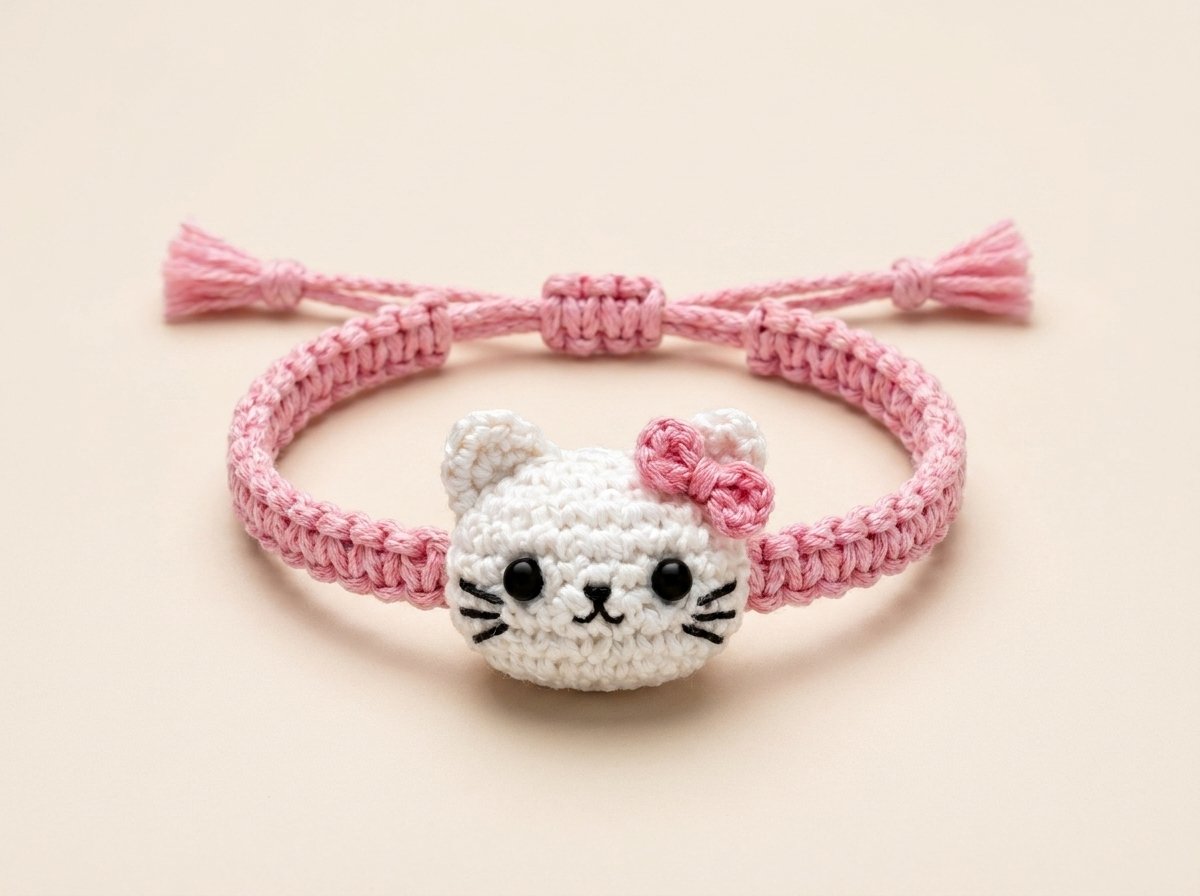
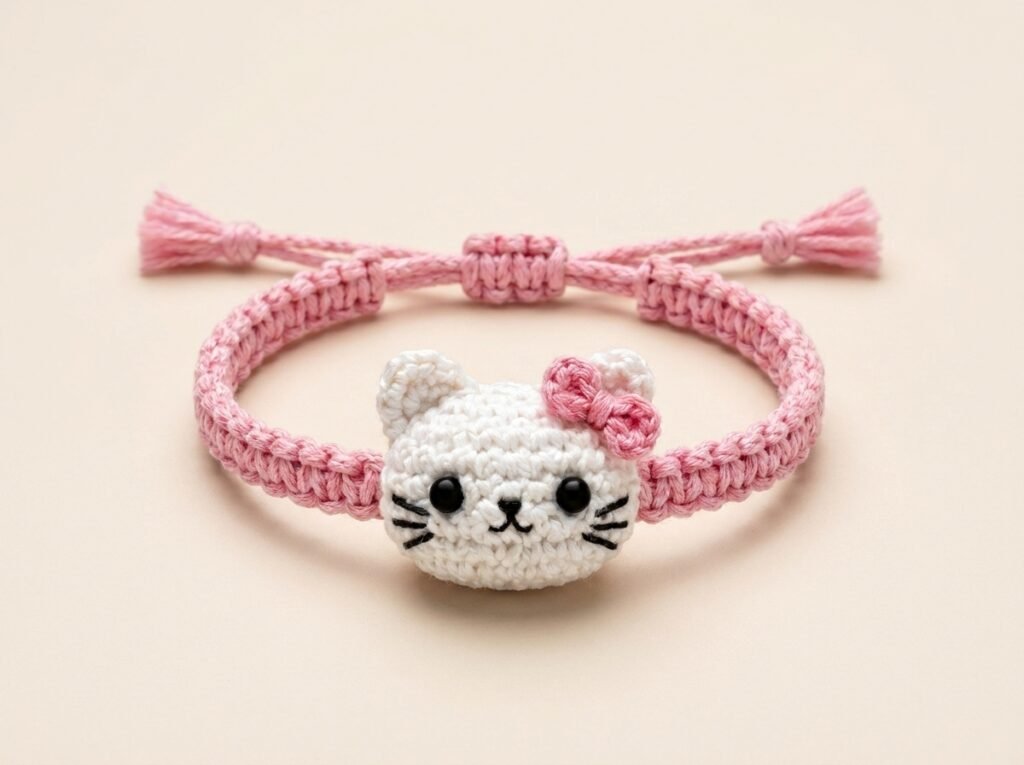
Few designs manage to feel both playful and genuinely wearable at the same time, but a crochet kitty bracelet pulls it off effortlessly. A tiny amigurumi cat face Crochet a Kitty Bracelet, complete with little ears, a pink bow, and stitched-on whiskers, sits right at the front of an adjustable braided cord — half toy, half accessory, and entirely charming. It’s the kind of small project that makes people stop and ask where you got it, and the best part is that a crochet kitty bracelet like this one is genuinely simple enough for a beginner to finish in a single afternoon.
In this guide, we’re breaking down everything you need to know about making your own crochet kitty bracelet — why the design works so well as a first amigurumi-jewelry project, what materials go into it, how the construction generally comes together step by step, and how to put your own spin on the finished piece. Whether you’re crocheting it for yourself, as a gift, or to sell as part of a small handmade jewelry lineup, this is a project worth adding to your queue.
Why a Crochet Kitty a Bracelet Is Such a Great Beginner Project
A few key details make this design such an appealing — and approachable — first project:
- A small, simple base shape. The cat’s face starts from a basic rounded amigurumi shape, worked in just a few rounds before any of the character details are added, which means the bulk of the piece relies on stitches you likely already know.
- Details that are added, not shaped. Instead of complicated shaping for the ears, bow, and facial features, most of the character comes from small pieces sewn on afterward, which keeps the core crochet work simple even though the finished result looks detailed.
- A forgiving, adjustable band. Rather than a fitted crochet strap, a crochet kitty bracelet typically uses a simple braided or knotted cord, which is naturally adjustable and doesn’t require any precise sizing.
- Instant charm. Because the design is so recognizable and expressive, even a slightly imperfect first attempt still reads clearly as “cute cat,” which takes a lot of the pressure off compared to more realistic or symmetry-dependent designs.
This combination of an easy base shape, low-pressure detailing, and a forgiving band is exactly why a crochet kitty bracelet is such a popular entry point into amigurumi-style jewelry.
What You’ll Need to Make a Crochet Kitty a Bracelet
While exact quantities and specific products are covered in the full video tutorial, a crochet kitty bracelet like this one generally calls for:
- A small amount of white (or your chosen base color) worsted or DK weight yarn for the cat’s face
- A small amount of pink yarn or felt for the bow and inner ear detail
- A small crochet hook sized to your yarn weight, typically somewhere between 2.5mm and 3.5mm
- Black embroidery thread for the eyes, nose, and whisker details
- A small amount of stuffing for the face
- A length of cord or thicker yarn in your chosen color for the braided bracelet band
- A yarn needle for sewing the pieces together and securing the finished face onto the band
Because the amigurumi portion is so small, this project uses very little yarn overall, making it an excellent way to use up scraps left over from bigger projects.
How a Crochet Kitty a Bracelet Comes Together
Character amigurumi jewelry like this is generally built in a few clear stages, and understanding the overall structure makes it much easier to follow along with the full tutorial:
- Crocheting the face. The cat’s head starts as a small, lightly stuffed rounded shape, worked in continuous rounds and closed off once it reaches the right size.
- Adding the ears. Two small triangular or curved ear pieces are worked separately and then attached to the top of the head, angled slightly outward for that classic cat silhouette.
- Embroidering the features. Rather than crocheting the face details, the eyes, nose, and whiskers are typically added with embroidery thread once the head is finished, which is what gives the finished kitty its expressive look.
- Attaching the bow. A small crocheted or fabric bow is sewn just above one ear or at the top of the head as the signature decorative touch.
- Building the band. A cord or braided strand is prepared separately, then the finished cat face is sewn securely onto the center, with the two ends of the band finished in an adjustable knot so the bracelet fits a range of wrist sizes.
This kind of construction — a small amigurumi centerpiece attached to a simple adjustable band — is a technique you’ll see repeated across a lot of character-based crochet jewelry, so once you’ve made one crochet kitty bracelet, adapting the same idea to other animals or characters becomes much easier.

🎥 Watch the Full Step-by-Step Tutorial: Tutorial by Fatima Khanzadi
Tips for a Cleaner, More Professional-Looking Kitty
- Don’t overstuff the head. A little bit of stuffing goes a long way on a piece this small — overstuffing can distort the round shape and make it harder to attach the ears neatly.
- Pin the ears and bow before sewing. Since a slightly off-center ear or bow is very noticeable on such a small face, pinning everything in place first lets you check the overall look before committing with a needle.
- Keep embroidered features symmetrical. Lightly mark where the eyes and nose will go with a pin before stitching, especially if this is your first time embroidering a face onto amigurumi.
- Test the band length on your wrist before finishing the final knot, since it’s much easier to adjust the cord length now than after the face is permanently attached.
Ways to Customize This Pattern
One of the best things about a character-based design like this is how easy it is to make it your own:
- Change the color scheme. A grey, orange, or black-and-white cat face is just as easy to make as the white version, simply by swapping your main yarn color.
- Swap the bow for a different accessory. A small flower, a tiny hat, or a simple bead can replace the bow for a different look while keeping the same base technique.
- Turn it into a matching set. The same small amigurumi face works well scaled down as a keychain or scaled up slightly as a bag charm, making this a great base pattern for a coordinated set of handmade accessories.
- Try a different animal. Once you’re comfortable with the base head shape and embroidery technique, the same construction method adapts easily to other animal faces — a bunny, a bear, or a fox, for example.
Frequently Asked Questions
Is a crochet kitty bracelet good for a first amigurumi jewelry project? Yes. Because most of the character comes from simple added details rather than complex shaping, a crochet kitty bracelet is very approachable for beginners who already know basic amigurumi stitches like single crochet and simple increases or decreases.
What yarn works best for a crochet kitty bracelet? A soft worsted or DK weight cotton or acrylic yarn works well for the face, since it holds its shape nicely once lightly stuffed, while a slightly thicker cord or yarn is better suited to the bracelet band itself.
How long does it take to make a crochet kitty bracelet? Because the face is small, most crocheters can finish the amigurumi portion in under an hour, with additional time for embroidering the features, attaching the bow, and finishing the band.
Do I need embroidery skills to make a crochet kitty bracelet? Only very basic ones. The face details are typically just simple straight stitches for the whiskers and small stitched dots or lines for the eyes and nose, which don’t require any advanced embroidery technique.
Can I make a crochet kitty bracelet without stuffing? You can use a very small amount or skip it entirely for a flatter, more charm-like face, though a light amount of stuffing generally gives the finished piece a fuller, more three-dimensional look.